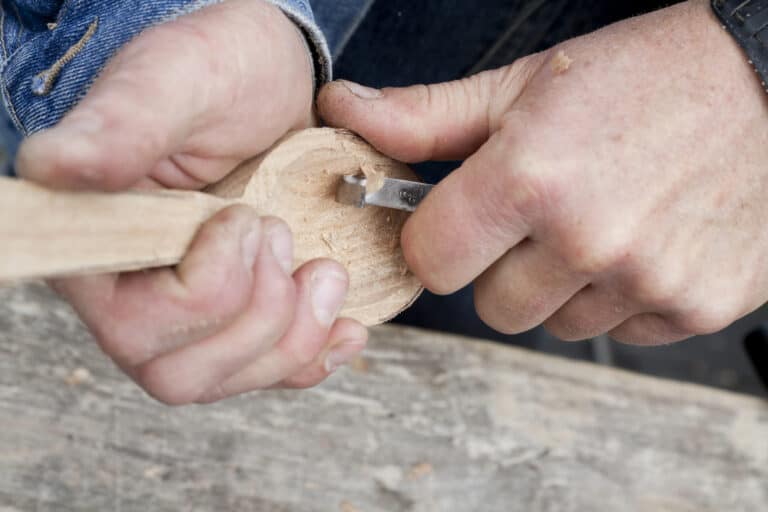
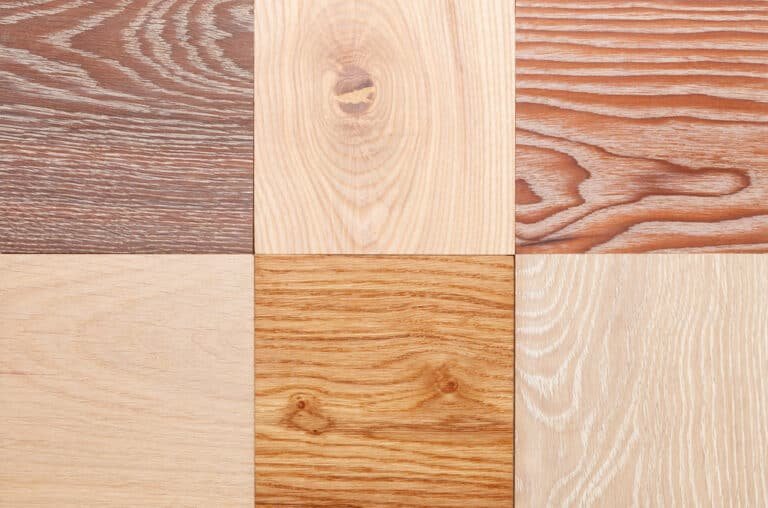
Pine is good for carving. It is soft and very easy to carve. Make sure you use White Pine as other varieties are more challenging to work with.
Here are some of the main pros and cons of carving with pine wood:
Pros of Carving With Pine:
- Easy to Carve: Pine is a softwood, which makes it easier to carve than hardwoods. This is especially beneficial for beginners or those without access to heavy-duty carving tools.
- Availability: Pine is widely available and tends to be less expensive than many other types of wood.
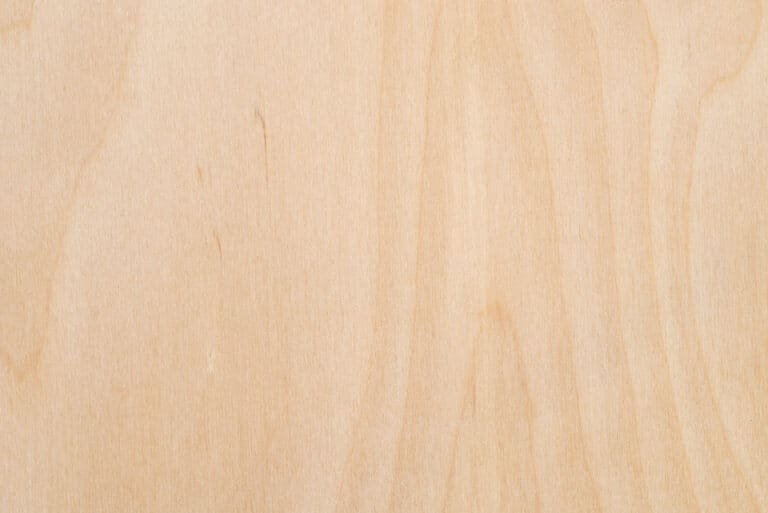
- Light Color: The light color of pine can make carved details stand out, and it provides a good canvas if you plan to paint or stain the finished piece.
- Grain Pattern: Pine often has a straight and uniform grain, which can be easier to work with and predict as you carve.
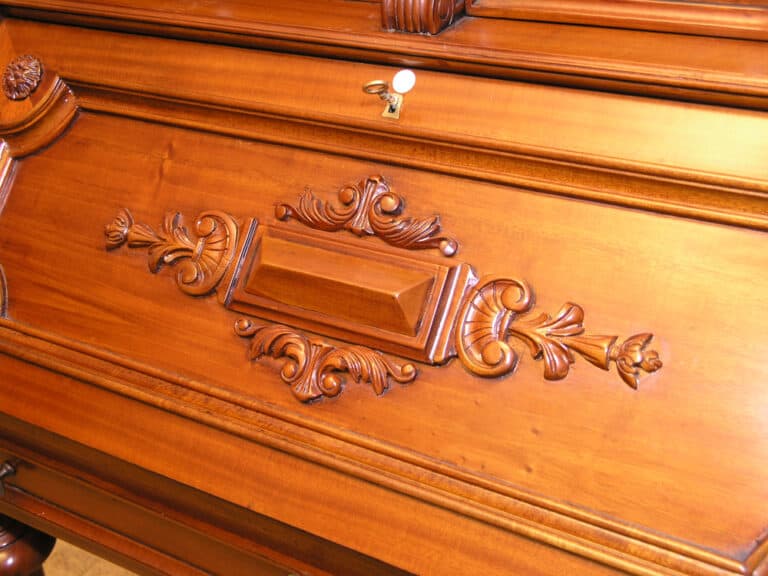
- Versatility: Pine can be used for a wide variety of projects, from small decorative items to larger pieces of furniture.
Cons of Carving with Pine:
- Softness: While the softness of pine can be an advantage, it can also be a disadvantage because it can lead to the wood being easily damaged or dented.
- Inconsistent Density: Pine can have knots and areas of varying density, which can make carving more challenging and can lead to an uneven finish.
- Resin Content: Pine has a high resin content, which can gum up tools and make them dull more quickly. It can also create a sticky residue on the finished piece if not properly sealed.
- Potential for Warping: Pine is more prone to warping and shrinking compared to some other types of wood, which can be a concern for larger or more intricate carvings.
Related: The Best Woods for Carving
Main Advantages of Pine
(Almost) Effortless to Carve Compared to Hardwoods
As a softwood, pine will be about as easy to carve as a stick of butter or a bar of soap – especially when compared with other hardwood options such as mulberry.
There are some downsides to pine being so soft (we mentioned those in just a moment), but if you’re learning how to carve – or if you’re experimenting with new techniques – and don’t want to spend a pile of money on tough to carve material, pine is the way to go.
Pine is Easy to Sand and Smooth
Another huge advantage to using pine for your carving project (especially early in the process) is that this material is super easy to sand and smooth.
There aren’t many tricks or special techniques you need to use to get your carved project sanded up and almost glassy smooth.
You’re going to love working with it!
Pine is Incredibly Inexpensive
Last, pine is about as inexpensive a carving material as you will find on the market today.
Available everywhere (and we mean everywhere), you can even pop down to your local big-box home improvement shop or lumberyard and get blocks and blocks of pine to work with – all for next to nothing.
That’s huge when you are just starting or tinkering around with different techniques, different strokes, or want to practice.
Related: Cedar Wood Carving
Downsides of Carving with Pine Wood
Pine Can Be a Little Stiff
Pine is loaded with sap – more than maybe any other softwood, for that matter – and that’s going to make this material a little stiff.
As soon as your carving tools punch into a blob of sap, everything’s going to gum up, and you’re going to feel like you are carving a sloppy mess.
There are ways to avoid this, but you will pop into a surprise sap pocket every now and then, and you’ll just have to power through it.
You’re Going to See a Lot of Dents
Because pine is so soft, it’s prone to denting and bruising more than a lot of other materials.
You really (REALLY) need to be careful when you are holding your project – and doubly careful when you are clamping it.
Apply too much force, drop, or bump your pine project on something and it’s going to wear a bunch of scars.
Some of those can be worked out, sanded, or even steamed back into place. Some of them, though, are going to be permanent.
Pine is Pretty Knotty
While pine itself is super soft and easy to work with, the knots that you’ll inevitably come across in pine – unless you are carving only completely clear material – are like little diamonds to work through.
These things are tough!
Anticipating the density of pine can be a bit of a challenge, but we can tell you that no matter how dense and hard you think pine knots are, they will always be a little harder.
It’s really hard to carve around these knots. The only thing harder is to carve through them. You might have to get creative when they bubble up in the middle of your projects.
Pine Will Chip with Dull Tools
Pine wood is notorious for chipping when dull edge carving tools are used.
Worse, every time you run into a knot and push through a glob of this sap, you will make the blades of your carving tools duller and duller.
It doesn’t take very long for your carving tools to start chipping and ripping chunks of pine out when you’re trying to be much more delicate and deliberate.
Take the time to pause, sharpen, and hone your edges more frequently than you’d think when working pine.
You’ll be glad you did.
Related: Oak wood carving
Tips for Carving With Pine
1. Choose the Right Tools:
- Sharp Tools: Ensure your carving tools are sharp and well-maintained. Pine is soft and can be easily damaged with dull tools.
- Variety of Tools: Have a variety of chisels, gouges, and knives on hand to handle different carving tasks.
2. Select Quality Pine:
- Go for White Pine: Its by far the easiest type to carve.
- Avoid Knots: Choose pieces of pine with few knots, as they are harder and can interrupt the carving process.
- Check for Consistency: Look for wood with a consistent grain and density to ensure a smoother carving experience.
3. Properly Prepare the Wood:
- Sand the Surface: Sand the surface of the pine to remove any rough spots and to prepare it for carving.
- Secure the Wood: Make sure the piece of pine is securely fastened to your workbench to prevent any movement while carving.
4. Pay Attention to Grain Direction:
- Follow the Grain: Carve in the direction of the wood grain to prevent tearing or splintering.
- Adjust as Needed: Be prepared to adjust your carving direction as the grain pattern changes.
5. Start with Rough Carving:
- Remove Excess Wood: Use larger tools to remove excess wood and establish the basic shape of your carving.
- Work in Stages: Progress from rough carving to finer details in stages.
6. Take Your Time:
- Be Patient: Pine is soft, but it’s important to take your time and not rush the carving process.
- Work in Sections: Focus on one section at a time to ensure consistency and attention to detail.
7. Finish with Fine Details:
- Switch to Smaller Tools: Use smaller carving tools to add fine details and textures.
- Smooth the Surface: Use fine-grit sandpaper to smooth the surface before finishing.
8. Properly Finish the Carving:
- Seal the Wood: Apply a sealer or finish to protect the pine and enhance its appearance. This is especially important due to pine’s high resin content.
- Consider Paint or Stain: Depending on your project, you might want to paint or stain the carving to add color or highlight certain details.
9. Clean Your Tools:
- Remove Resin: Clean any resin buildup from your tools promptly to keep them in good condition.
10. Practice and Experiment:
- Gain Experience: The more you carve pine, the more familiar you will become with its characteristics.
- Try Different Techniques: Don’t be afraid to experiment with different carving techniques and styles.
